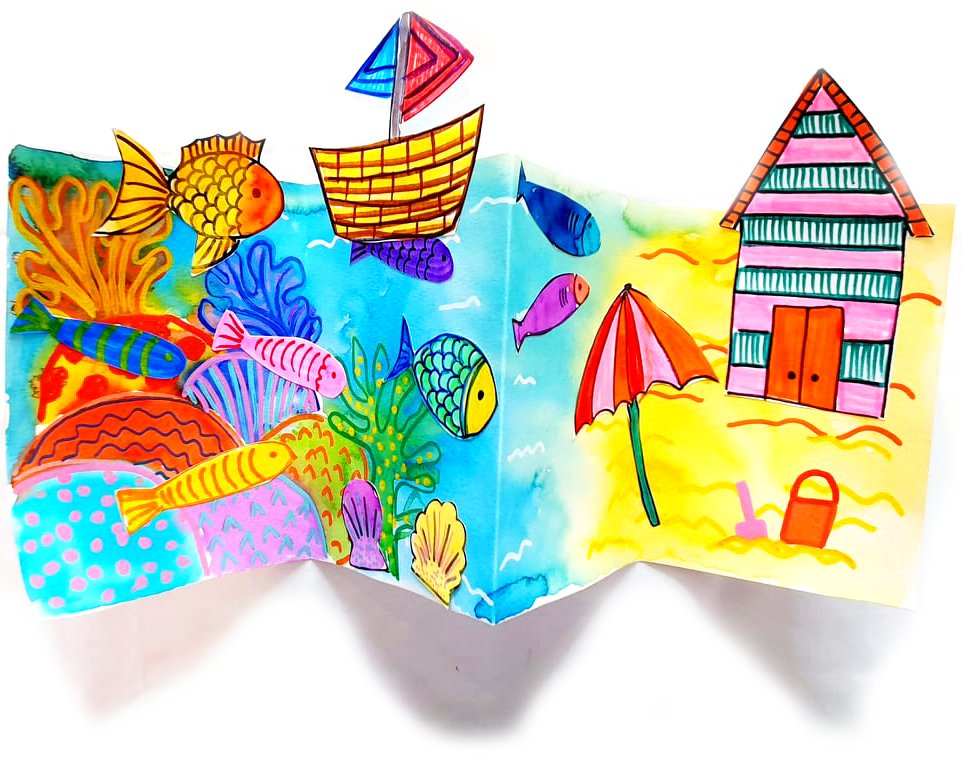

Make your own Under the Sea art booklet
Oct 22, 2022My students absolutely loved creating their own folded art booklet. It’s a great way to showcase their art skills in a different 3D format, they look GREAT on display too! We started this project last summer and chose an Under the Sea theme; but the same process would work well for anything; flower gardens (check my example of this one too below), winter wonderland, picnic with food, woodland animals.
This art booklet included drawing, painting and collage skills, while also resulting in a beautiful masterpiece that can take centre stage on your mantle piece, dinning room table or as a gift. It is part of my NEW ART BUNDLE - Under the Sea. In this collection of 6 video art projects Little Artists learn how to paint with liquid acrylic and watercolour to create gorgeous finished artworks. We work through a variety of brush stroke techniques, texture scraping, layering, colour theory, collage and have some fun with quick and easy after-school projects too.
You can shop my Under the Sea Art Bundle and others below. 😘🎉😘🎉😘🎉


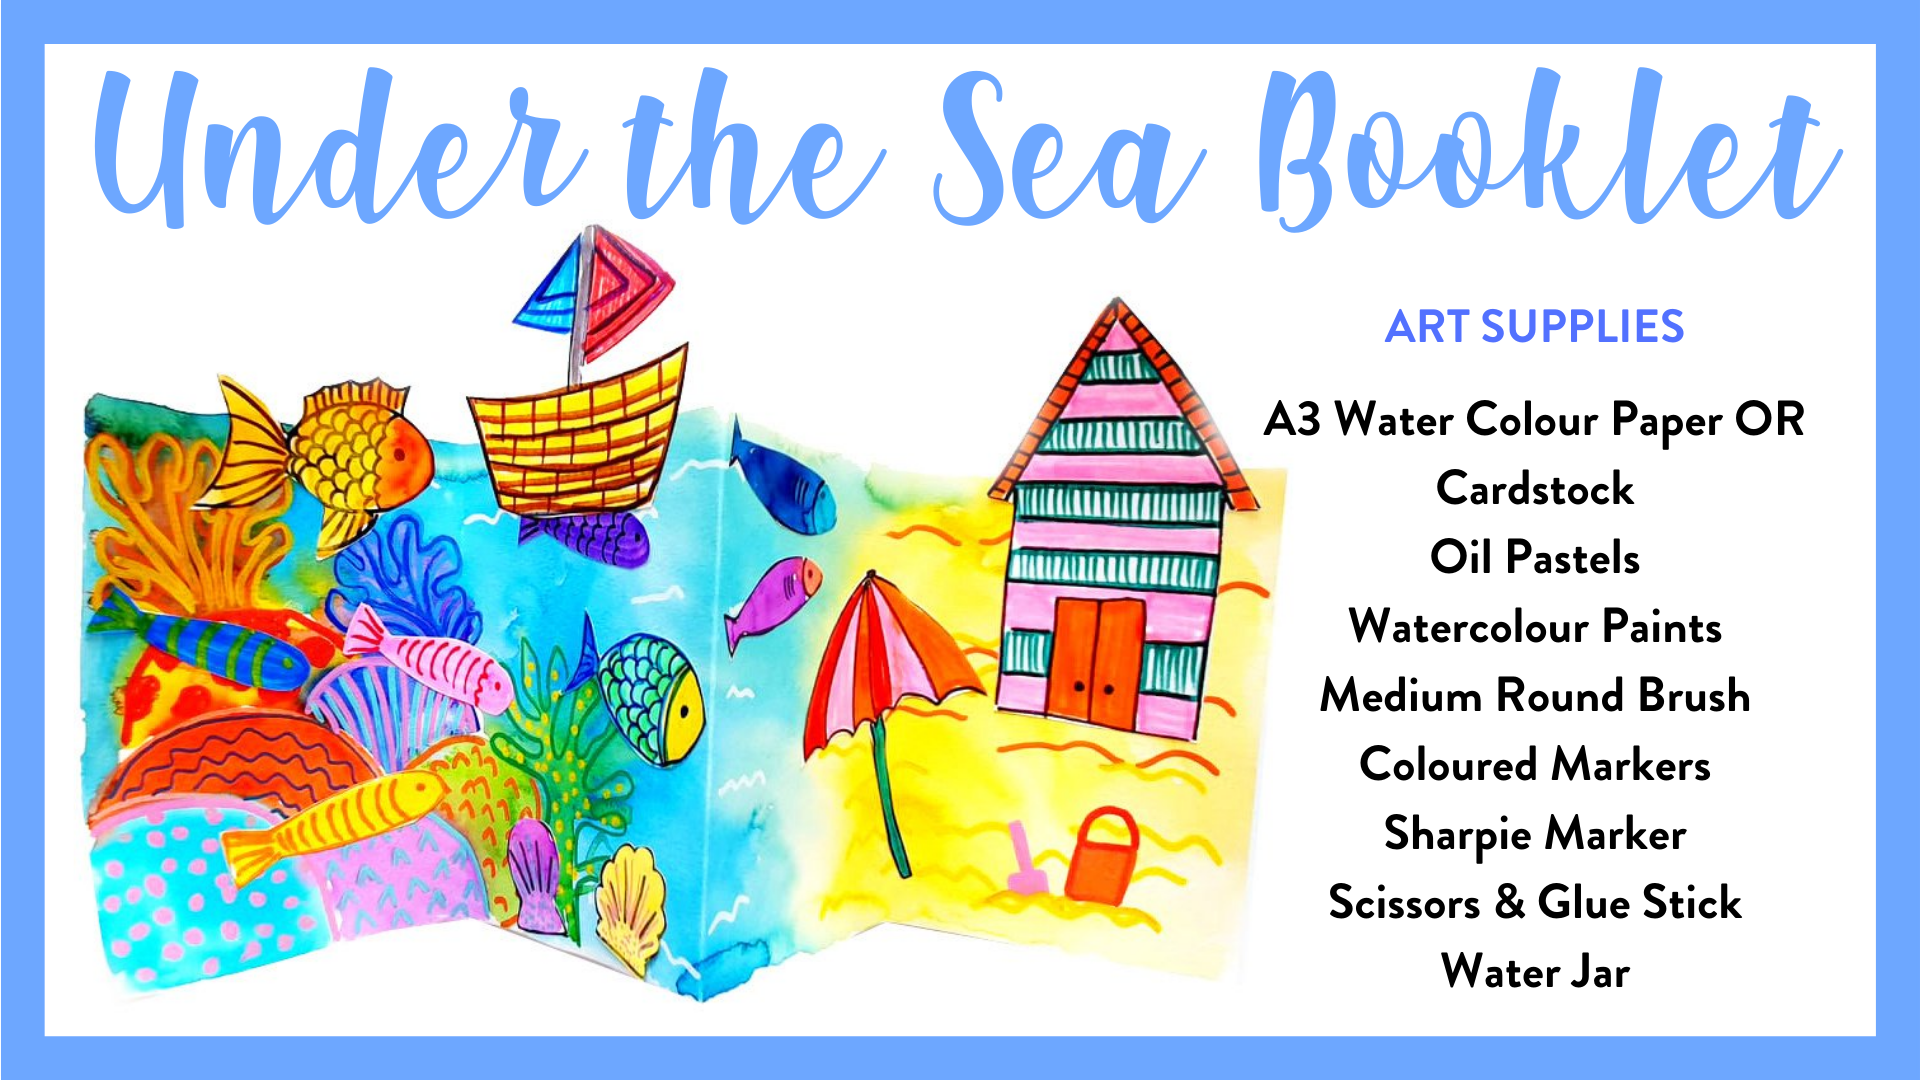
UNDER THE SEA ART BOOKLET
Let’s get this project started! Set your Little Artist up with the supplies below.
Art Supplies:
-
A3 Water Colour Paper OR Cardstock - you do need THICK paper for this project
-
Oil Pastels
-
Watercolour Paints
-
Medium Round Brush
-
Coloured Markers
-
Sharpie Marker
-
Scissors & Glue Stick
-
Water Jar
Step 1. BACKGROUND
Fold then cut your A3 paper in half vertically. On one piece of paper draw coral, seaweed, rocks with oil pastels. I drew mine to the left hand side of the paper; this became the “ocean”, while the right hand side became the “sandy beach”. Also add blue and yellow wiggly lines to indicate the ocean and sand.

Step 2. PAINTING
Use watercolour paints to add colour to the underwater scene. I used bright colours for rainbow coral, and then blended a blue ocean into a yellow sandy beach at the opposite end of the paper. Leave to dry.
Step 3. DRAWING & COLOURING
Now its time to have some fun drawing sea creatures and beachy objects. Use your remaining art paper and a black marker to fill the page with simple outlines of fish, star fish, beach box, beach umbrella, maybe a rowboat? Once your page is full add colour and patterns with markers and crayons, then cut out.


Step 4. FOLD
For your art booklet to stand upright fold the background paper into four equal sections. Stand it on your table to test it!
Step 5. ARRANGE
You’re now ready to arrange your beachy drawings onto your background. Place each drawing to see where they look best and then glue each drawing to complete your artwork. Make sure you don’t glue your drawings over a fold. Your artwork is finished!
I would love to see your Little Artist’s creations. Tag @art_with_georgie on instagram or send them over to [email protected] I always reply to every message!